BC Data Catalogue Member and Organization Management
UNDER CONSTRUCTION
| Audience | ||
|---|---|---|
| Catalogue Admin | Catalogue System Adminstrators | Catalogue Developers |
Table of Contents
Role Definitions
| Term | Definition | Role Impact |
|---|---|---|
| Parent Org | Ministry or Highest level of Organization | Assigned User Role membership access to all Ministry’s Branches/Divisions records (datasets) |
| Suborg | Branch/Division under Ministry or Organization | Assigned User Role membership access to all Suborg records (datasets) |
| Group | Container of like records/datasets for quick viewing without searching | Assigned User Role membership access to associated group(s) |
| User Role | Definition | Abilities |
|---|---|---|
| Parent Org Admin | Parent granting will provide child or suborgs abilities | Ability to manage records and resources, and promote through the publishing and retirement process, at the Parent Org level. |
| Parent Org Editor | Parent granting will provide child or suborgs abilities | Ability to manage records and resources, with limited promotion ability through the publishing and retirement process, at the Parent Org level. |
| Suborg Admin | Suborg granting will provide only suborg abilities | Ability to manage records and resources, and promote through the publishing and retirement process, at the Suborg level. |
| Suborg Editor | Suborg granting will provide only suborg abilities | Ability to manage records and resources, with limited promotion ability through the publishing and retirement process, at the Suborg level. |
| Group Admin | Full access role to manage data association, full group management, including membership to Group | Ability to add/remove PUBLISHED and PENDING ARCHIVE Datasets to Group. If an Editor or Admin of an Organization, include DRAFT and PENDING PUBLISH datasets for those Organization(s). Edit all Group properties (description, image and privacy checkbox) other than the Group Title and Name (URL) ENHANCEMENT: Edit all Group properties (Group Title, Name (URL), Description, Image and Privacy checkbox), requires Keycloak Delegation Management |
| Group Editor | Partial access role to manage dataset association and partial Group administration | Ability to add/remove PUBLISHED and PENDING ARCHIVE Datasets to Group. If an Editor or Admin of an Organization, include DRAFT and PENDING PUBLISH datasets for those Organization(s). ENHANCEMENT: Edit all Group properties (description, image and privacy checkbox) other than that the Group Title and Name (URL) |
Organization or group management
Log in to perform any actions:

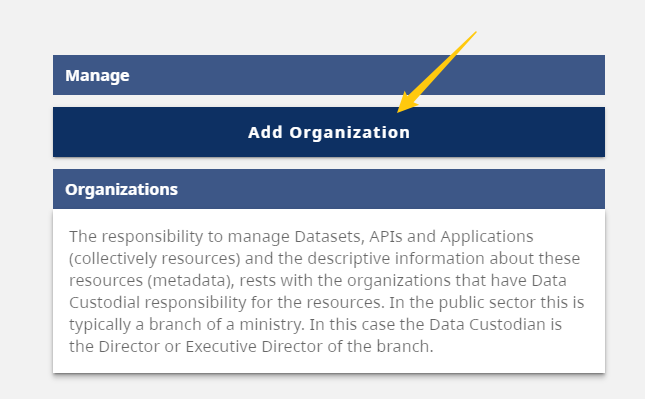
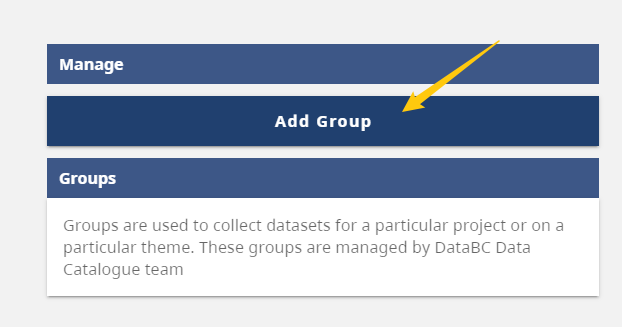
Add an organization or group
- Log in as a sysadmin
- Under the hamburger click Explore by Organization or Explore Dataset Groups

- Click Add Organizaton or Add Group
- The follow fields are to be filled out:
- Name
- Url Name
- Description
- External URL(Organization only)
- Image URL
- Parent(Organization only)
- To be able to select a parent or ministry level or move between them, an admin must be an admin to all levels. Therefore this is done by system-administrators
Rename an organization or group
Things to note:
- The Name, e.g., DataBC Program can be changed at any time, changing the url name, e.g., /databc-program should be done after hours due to a bug.
- Log in as a sysadmin
- Navigate to the organization or group
- Click Edit Organzation or Edit Group


- Update Name
- Change special characters like & to ‘and’
- Update URL
- Requirements:
- Lower case name
- Spaces replaced with dashes
- Requirements:
Delete an organization or group
Things to note:
- Deleting a Keycloak Group should only happen when a CKAN Organization or Group needs to be deleted and not renamed.
- Deletion of an organization or group is done by a system administrator
- To request this as an enhancement to your holdings, open a ticket with the Data Systems & Services request system.
- Include the name or link to the orginization or group to delete.
- If there are datasets associated, indicate what organizaton they belong to.
Member management
- Users must first log into the Catalogue and then their grants can be applied.
- If a user hasn’t logged into the new Catalogue before, their Username in the Admin Panel will appear in Lower case. If a user has logged into the Catalogue previously, their Username will appear in Title case.
Follow the steps below to grant users Admin or Editors for a CKAN Organization or Group.
- Log in to the BC Data Catalogue
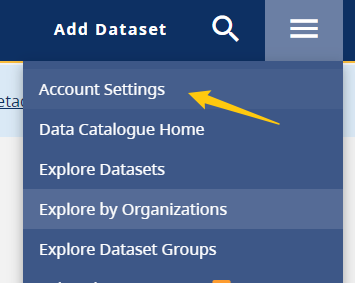
- Expand the hamburger menu in the top right corner
- Select the Account Settings option in the drop-down menu
You will see your personalized account settings page – Click on the “Admin” tab on the top left-hand side of the menu bar.
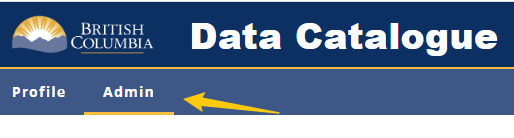
Here you will find all the Organizations and Groups that you have been granted access to depending on your assigned user role within the BC Data Catalogue.
Add a member to an organization or group
- Click on the appropriate dropdown beside your Ministry/Organization
-
It will expand to show the Branches that you currently have access to edit and/or add members to

-
You can add members to your organization at a branch level by clicking on the Add member button:
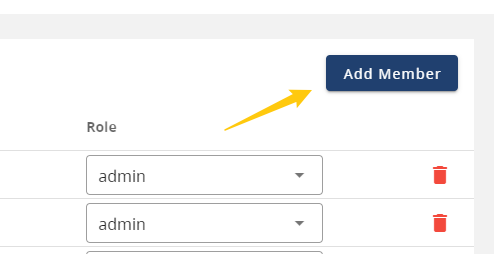
- Select team member by typing their first and last name or their IDIR account
- Assign them their member role - Options: admin or editor role
-
Click Add button
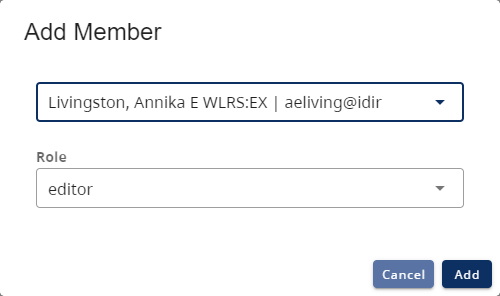
- If you have made an error: click the Cancel button to return to your Admin Panel page
Edit a member role in an organization or group
-
Find the team member on your organization or group panel
-
Toggle over their current role and expand the options:

-
Assign them their new member role - Options: admin or editor role
-
Once you have selected their new role - no further action is needed
Remove a member from an organization or group
- Find the team member on your organization or group panel
-
Click on the Delete button:
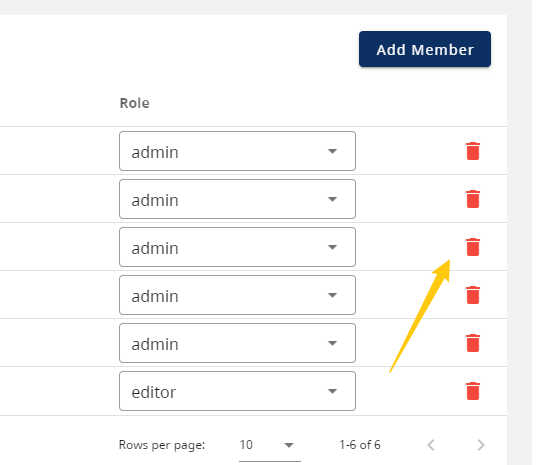
- A dialogue box will open asking you to “Confirm Removal” of the member from that specific member role
- To remove the team member - Confirm by clicking: Delete
- If you have made an error: click the Cancel button to return to your Admin Panel page
Deleting a member
- To request this, open a ticket with the Data Systems & Services request system.