$ git branch -m main2. Working Locally with Git
2.1 Creating a Repository
Scenario: Wolfman and Dracula have been hired to investigate if it is possible to send a planetary lander to Mars. They want to be able to make notes and collect some data together, but have run into problems doing this in the past. If they take turns, each one will spend a lot of time waiting for the other to finish, but if they work on their own copies and email changes back and forth things will be lost, overwritten, or duplicated. Therefore, they are going to use Git with Github to work on their plans at the same time, then merge their changes
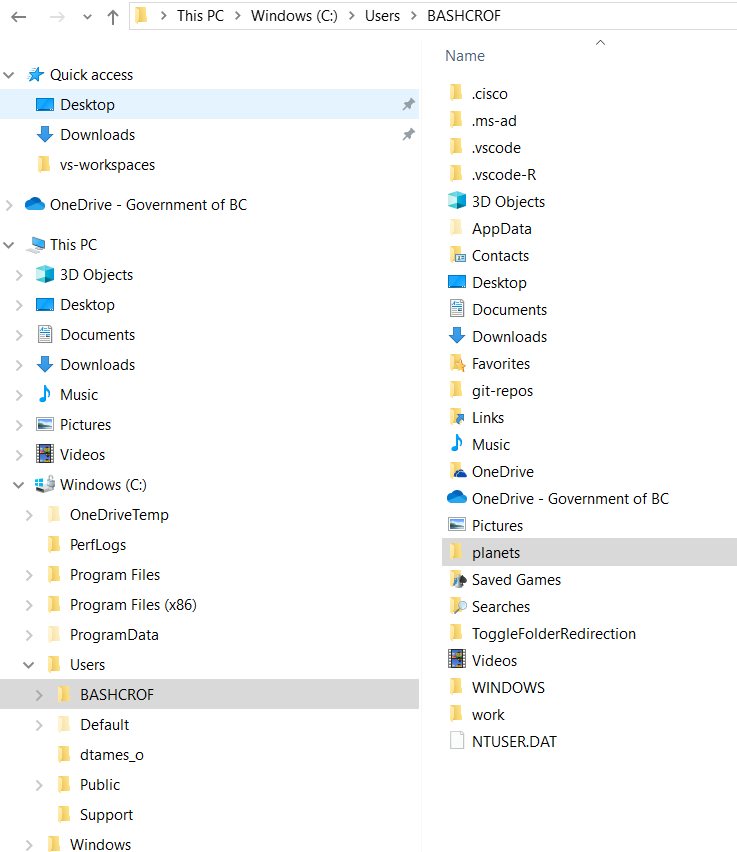
First, let’s create a new directory on the C drive for our work. Your user profile on the C drive is the best place to create a repository for now. Git does not know how to reconcile the H drive as a “safe” place for our work. We will start by opening a git bash terminal, changing to the C: drive, creating a new directory, and changing the current working directory to the newly created one:
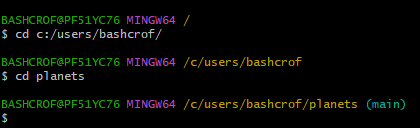
$ cd c:/users/bashcrof
$ mkdir planets
$ cd planets
An aside on bash jargon
Git is, at its core, a command line set of tools. While there are tips, tools and tricks to use Git via a graphical interface, this often hides the core functionality of what Git is really doing ‘behind the scenes.’ This is why we choose to introduce Git in its purest form. Unfortunately, this means that some familiarity with the command line is needed. Luckily, the amount required to understand is minimal!
To work our way through a git repository, we only need to access three main bash commands. These are all associated with moving the current working directory that is associated with your open git bash terminal.
cd: This command allows us to move the current working directory associated with the open bash terminal to a new directory. It can be used in the following ways:
$ cd path/to/directory       # Go to specified directory - "quotes" are needed if there are spaces in the path
$ cd .. # Go up one directory levelmkdir: This command allows us to create a new directory within the current working directory. It is used by specifying the name of the new directory.
$ mkdir new_directory # Create specified directoryls: This command allows us to inspect the contents of the current working directory. It can be used in the following ways:
$ ls                         # List directories and files
$ ls -a                      # List directories and files, including hidden
Note that if you are ever unsure of which working directory you are in, it should be visible as part of the command prompt. If not visible, you can request it via the pwd bash command.

One final note on command lines. For Windows computers, to paste any line into the open terminal, Ctrl + v sadly won’t work. Instead, you use Shift + Insert. For OSX, Command + v should still work.
Orienting yourself to bash
It is often useful to keep a File Explorer instance open while you are first learning to navigate through the world of the command line. This allows you to see, in real time, the new directories and files you are creating from the command line.
If you get lost, you can also use File Explorer to open a Git bash terminal directly in the folder we wish to work in. Simply navigate to the parent folder, right click on the folder you wish to work in, and click Open Git Bash here.
Then we tell Git to make planets a repository – a place where Git can store versions of our files:
$ git initIt is important to note that git init will create a repository that can include subdirectories and their files—there is no need to create separate repositories nested within the planets repository, whether subdirectories are present from the beginning or added later. Also, note that the creation of the planets directory and its initialization as a repository are completely separate processes.
If we use ls to show the directory’s contents, it appears that nothing has changed:
$ lsBut if we add the -a flag to show everything, we can see that Git has created a hidden directory within planets called .git:
$ ls -aWe get the following output:
. .. .git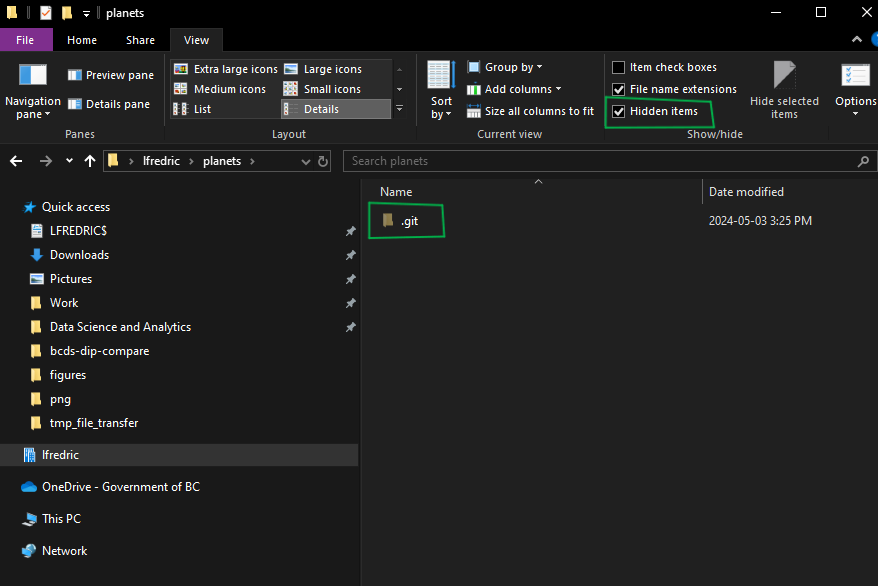
Git uses this special subdirectory to store all the information about the project, including the tracked files and sub-directories located within the project’s directory. If we ever delete the .gitsubdirectory, we will lose the project’s history.
Next, we will change the default branch to be called main. This might be the default branch depending on your settings and version of git. See the setup episode for more information on this change.
We can check that everything is set up correctly by asking Git to tell us the status of our project:
$ git statusWe get the following output:
On branch main

No commits yet

nothing to commit (create/copy files and use "git add" to track)
If you are using a different version of git, the exact wording of the output might be slightly different.
2.2 Tracking Files
First let’s make sure we’re still in the right directory. You should be in the planets directory.
$ cd c:/users/bashcrof/planetsNote that you can also tell you are in a Git repository, and not a regular directory, from the Git Bash command prompt. The very last part of the prompt (before the $) should contain, in brackets, the name of the branch we are on. Don’t worry about branches right now, but having main present in the command prompt tells us we are in a Git repository!
Let’s create a file called mars.txt that contains some notes about the Red Planet’s suitability as a base. Open a new document named mars.txt using a plain text editor such as Notepad++. Add the following line to mars.txt and save the file.
Cold and dry, but everything is my favorite color
To bash or not to bash?
Note that while Git itself is inherently a command line program, the rest of the files we create within our repository do not have to be made in the same way! We can create subfolders, add documents, code, etc. using our favourite tools. This may be Microsoft Word, VS Code, RStudio, or even vim for the hard core. Once the new items have been added, head back to the git bash terminal to do any Git command magic necessary.
After switching back to the GitBash command-line interface, let’s verify that the file was properly created by running the list command (ls):
$ lsWe should see the following file in our directory:
mars.txtIf we check the status of our project again, Git tells us that it’s noticed the new file:
$ git statusOn branch main
No commits yet
Untracked files:
(use "git add <file>..." to include in what will be committed)
mars.txt
nothing added to commit but untracked files present (use "git add" to track)The “untracked files” message means that there’s a file in the directory that Git isn’t keeping track of. We can tell Git to track a file using git add:
$ git add mars.txtand then check that the right thing happened:
$ git statusOn branch main
No commits yet
Changes to be committed:
(use "git rm --cached <file>..." to unstage)
new file: mars.txt2.3 Committing Changes
Git now knows that it’s supposed to keep track of mars.txt, but it hasn’t recorded these changes as a commit yet. To get it to do that, we need to run one more command:
$ git commit -m "Start notes on Mars as a base"[main (root-commit) f22b25e] Start notes on Mars as a base
1 file changed, 1 insertion(+)
create mode 100644 mars.txtWhen we run git commit, Git takes everything we have told it to save by using git add and stores a copy permanently inside the special .git directory. This permanent copy is called a commit (or revision) and its short identifier is f22b25e. Your commit may have another identifier.
We use the -m flag (for “message”) to record a short, descriptive, and specific comment that will help us remember later on what we did and why.
Note
If we just run git commit without the -m option, Git will launch a utility program called nano and ask us to write a longer message. If this happens, click CTRL+X to go back to the command line and run git commit -m "your commit message".
Note
Good commit messages start with a brief (<50 characters) statement about the changes made in the commit. Generally, the message should complete the sentence “If applied, this commit will” . If you want to go into more detail, add a blank line between the summary line and your additional notes. Use this additional space to explain why you made changes and/or what their impact will be.
If we run git status now:
$ git statusOn branch main
nothing to commit, working tree cleanit tells us everything is up to date.
2.4 Viewing and Restoring the Commit History
If we want to know what we’ve done recently, we can ask Git to show us the project’s history using git log:
$ git logcommit f22b25e3233b4645dabd0d81e651fe074bd8e73b
Author: Vlad Dracula <vlad@tran.sylvan.ia>
Date: Thu Aug 22 09:51:46 2013 -0400
Start notes on Mars as a basegit log lists all commits made to a repository in reverse chronological order. The listing for each commit includes the commit’s full identifier (which starts with the same characters as the short identifier printed by the git commit command earlier), the commit’s author, when it was created, and the log message Git was given when the commit was created.
Let’s add more information to the file. Again, open up your text editor to add and save your changes. Switch back to command line when you’re finished.
mars.txt contains a new line, which we can verify by running:
$ cat mars.txtCold and dry, but everything is my favorite color
The two moons may be a problem for WolfmanWhen we run git status now, it tells us that a file it already knows about has been modified:
$ git statusOn branch main
Changes not staged for commit:
(use "git add <file>..." to update what will be committed)
(use "git checkout -- <file>..." to discard changes in working directory)
modified: mars.txt
no changes added to commit (use "git add" and/or "git commit -a")The last line is the key phrase: “no changes added to commit”. We have changed this file, but we haven’t told Git we will want to save those changes (which we do with git add) nor have we saved them (which we do with git commit).
To explicitly identify what has changed between the last commit and any new, unstaged changes, we may use the git diff command. This will show us a list of what has changed between the most recent commit (the ‘HEAD’) and our local (but unstaged) changes for a given file (mars.txt).
$ git diff HEAD mars.txtdiff --git a/test.txt b/test.txt
index df0654a..c73b558 100644
--- a/mars.txt
+++ b/mars.txt
@@ -1 +1,3 @@
Cold and dry, but everything is my favorite color
+The two moons may be a problem for Wolfman.After reviewing our change, it’s time to commit it:
$ git add mars.txt
$ git commit -m "Add concerns about effects of Mars' moons on Wolfman"
[main 34961b1] Add concerns about effects of Mars' moons on Wolfman
1 file changed, 1 insertion(+)Finally, we may have made multiple changes to a file that cause it to stop working as intended. This is incredibly common with code scripts, such as .r or .py files. More often than not, it can be incredibly difficult to identify what has actually broken, and we wish to simply revert to a copy of the code where we know that things were working as intended. This is one place that version control really shines. Let’s add another line to our mars.txt file to simulate a ‘broken’ code script:
$ cat mars.txtCold and dry, but everything is my favorite color
The two moons may be a problem for Wolfman
THIS LINE BREAKS EVERYTHING OH NO.In order to revert the ‘broken’ script to a working version, we can use the git restore command:
git restore mars.txt
cat mars.txt
Cold and dry, but everything is my favorite color
The two moons may be a problem for Wolfman2.5 The Staging Area
As a final note, Git insists that we add files to the set we want to commit before actually committing anything. This allows us to commit our changes in stages and capture changes in logical portions rather than only large batches. For example, suppose we’re adding a few citations to relevant research to our thesis. We might want to commit those additions, and the corresponding bibliography entries, but not commit some of our work drafting the conclusion (which we haven’t finished yet).
To allow for this, Git has a special staging area where it keeps track of things that have been added to the current changeset but not yet committed.
If you think of Git as taking snapshots of changes over the life of a project, git add specifies what will go in a snapshot (putting things in the staging area), and git commit then actually takes the snapshot, and makes a permanent record of it (as a commit). If you don’t have anything staged when you type git commit, Git will prompt you to use git commit -a or git commit –all, which is kind of like gathering everyone to take a group photo! However, it’s almost always better to explicitly add things to the staging area, because you might commit changes you forgot you made. (Going back to the group photo simile, you might get an extra with incomplete makeup walking on the stage for the picture because you used -a!) Try to stage things manually, or you might find yourself searching for “git undo commit” more than you would like!
![]()