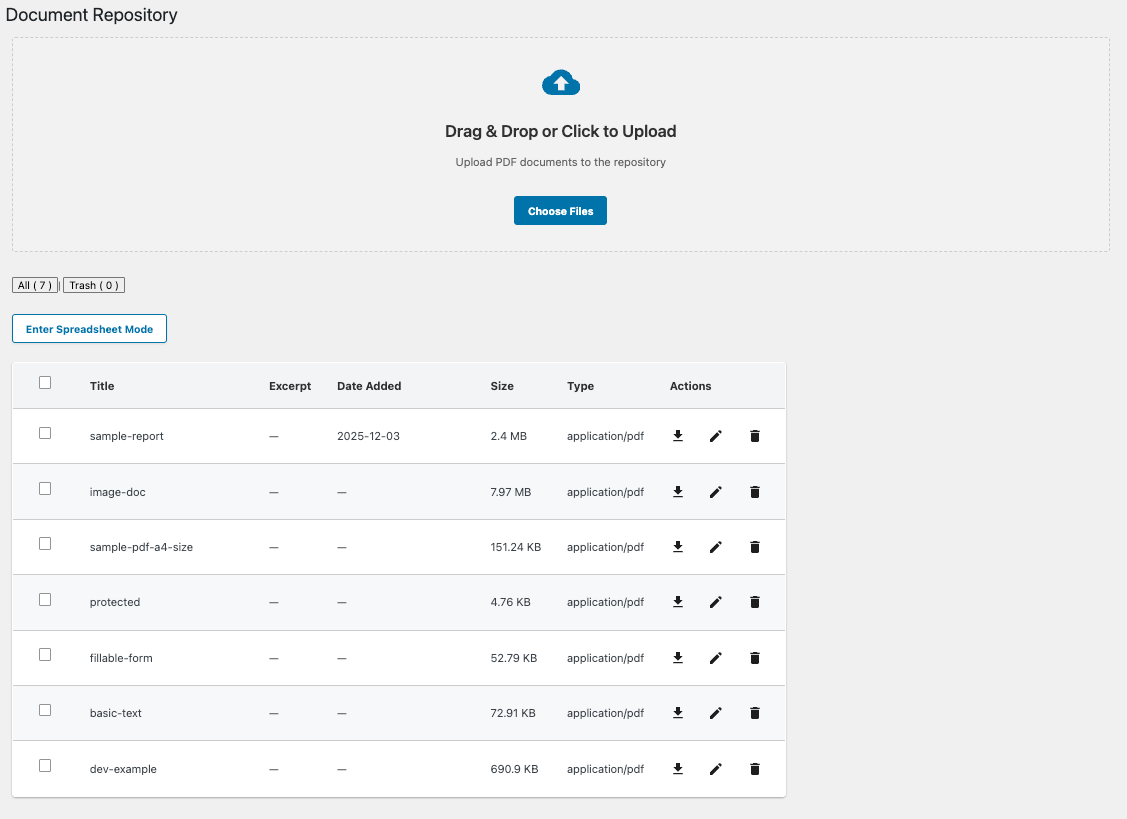
Document Repository
The Document Repository lets administrators and authorized users upload, organize, search, and manage PDF documents on a WordPress site. Documents are stored separately from regular posts and can be enriched with custom metadata fields for better searchability and organization.
Prerequisites & access
- Document Repository plugin installed and enabled.
- WordPress Search plugin installed and enabled (to search document metadata).
- Admins or users with edit capability can upload, edit, and delete documents.
Where to find it
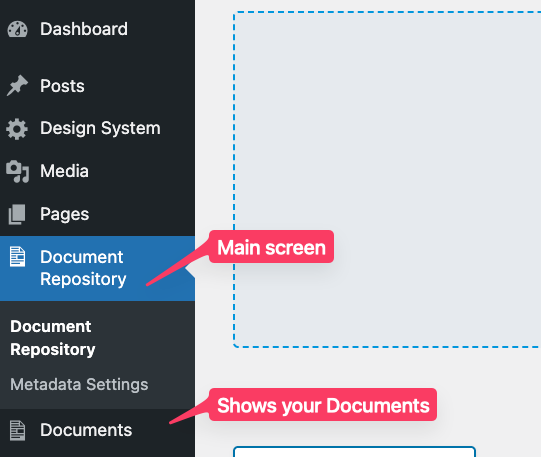
In WordPress Admin: Document Repository (left navigation).
What you can do
- Upload PDF documents (PDF format only).
- Organize documents with titles and excerpts.
- Add metadata via custom fields defined in Metadata Settings.
- Search and filter by document content and metadata.
- View documents in two modes: standard list and spreadsheet.
- Manage permissions to control access.
Upload a document
- Go to Document Repository in WordPress Admin.
- Drag one or more files into the Drag & Drop area, or click Choose Files.
- Select a PDF on your computer and click Open.
- After upload, the document appears in the list.
Note: Only valid PDF files are accepted. Non‑PDF files are rejected.

Edit document metadata
- Go to Document Repository.
- Click the pencil icon to open the metadata editor. In Spreadsheet Mode, edit fields inline.
- Update the Title, Excerpt, and Metadata Fields, if any exist.
- Click Save Changes. Edits apply immediately and are reflected in the list.
Note: Taxonomy fields may contain one or more values, separated by commas or Enter key
Delete (trash) a document
- Go to Document Repository.
- Select one or more documents and click Trash Selected, or click the Trash icon in the Actions column.
- Review the confirmation message.
- Click Trash (or Trash Selected) to confirm, or Cancel to abort.
Effect:
- The document is moved to Trash.
- From the Trash view, you can Restore or Delete Permanently.
- When permanently deleted, the file is removed from the server and all associated metadata is deleted.
Search documents
Keyword search
- Use the Search box at the top of the Document Repository.
- Enter a keyword. It matches titles, excerpts, and all metadata fields.
- Press Enter or click Search.
- To reset, clear the input and press Enter, or click the X button.
Results include documents whose title, excerpt, or metadata matches your term.
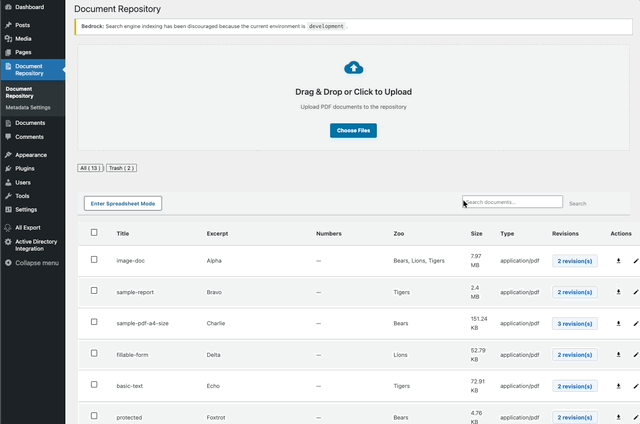
View modes
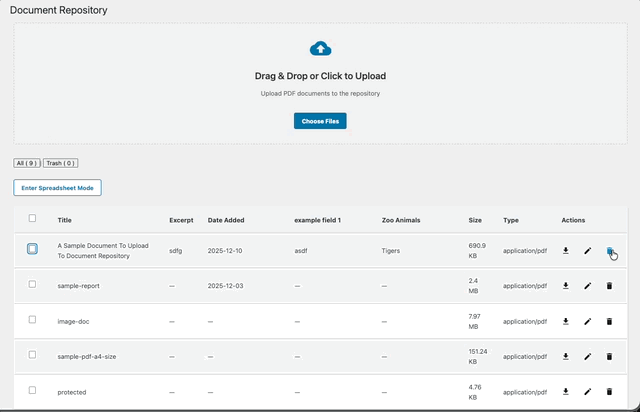
Standard view (default)
Shows:
- Title and excerpt
- Metadata columns (if configured)
- File size and type (PDF)
- Revisions
- Action buttons (Download, Edit Metadata, Trash)
Best for browsing and managing a moderate number of documents.
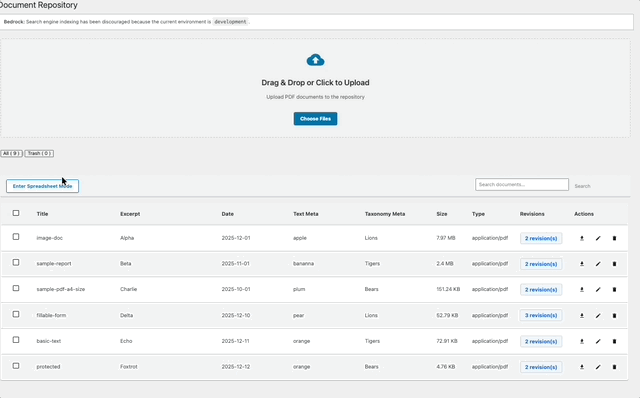
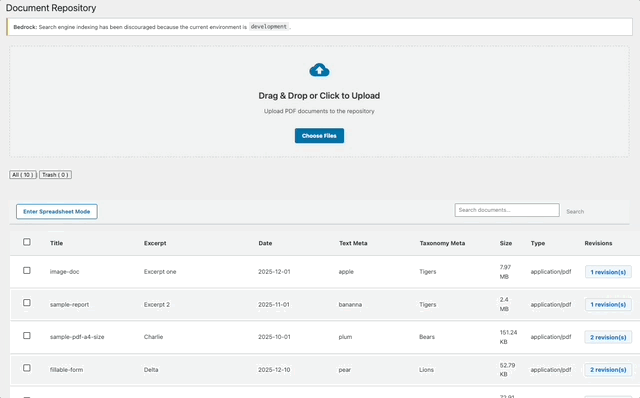
Spreadsheet view
Shows:
- All documents and metadata in columns
- Inline editing for quick updates
- Ideal for bulk edits and comparisons
To switch views, use the View Mode toggle in the top‑right.
Document revisions
Revisions track changes made to the document’s content fields (including Excerpt). You can view previous versions and restore one if needed.
- Click Revisions for a document.
- Use Previous and Next to navigate versions.
- Click Restore this Revision to apply it; this opens the editor.
- Optionally click Edit Revision to adjust the revision text and click Save.
- Return to Document Repository to see your changes.
Document status
Documents can be:
- Published: Visible on the site (frontend and admin).
- Draft: Saved but not yet published.
- Pending Review: Submitted for review; an Editor can publish it.
To restore a trashed document: go to Document Repository, open Trash, select the document, and click Restore.
Tips & best practices
- Use descriptive titles and excerpts to improve search results.
- Define metadata fields in Metadata Settings before large uploads.
- Ensure files are valid PDFs before uploading.
- Review and remove outdated documents regularly.
- Use search and filters to verify correct metadata tagging.
- For large repositories (100+ documents), use Spreadsheet View for faster bulk edits.
Troubleshooting
- Upload rejected as “Not a PDF”: Confirm the file is a valid PDF and has a .pdf extension. Convert non‑PDF files to PDF before uploading.
- Upload fails: Check hosting file size limits. Try a smaller PDF or split large files.
- Document not found in search: Ensure the WordPress Search plugin is installed and activated to index metadata.
- Metadata fields missing: Create fields in Metadata Settings, then refresh the page.
- Cannot edit or delete: Verify your user role has edit capability.
- File appears corrupted: Re‑upload the PDF. If it persists, open and re‑save the file in your PDF app, then upload again.
Quick reference
- Location: Document Repository (left navigation)
- Format: PDF only
- Upload: Drag & drop or click Choose Files
- Edit: Click Edit, change fields, click Save Changes
- Delete: Click Trash or Trash Selected; restore or permanently delete from Trash
- Search: Use the Search box
- View modes: Toggle between Standard and Spreadsheet
- Who can manage: Admins or users with edit capability