The Tenant Admin section allows you to manage tenants within the application. As a Superuser, you have the authority to create, edit, and delete tenants.
View Tenants
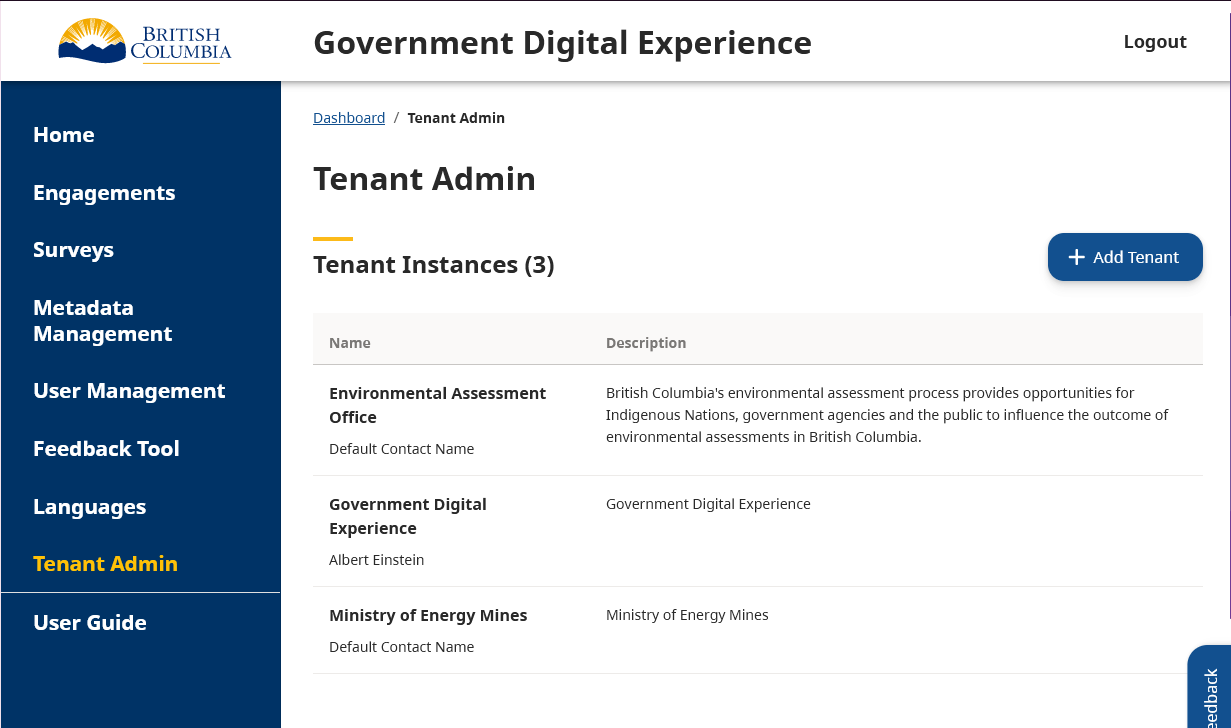
While logged in as a Superuser, you can view all tenants by selecting the Tenant Admin page from the left-hand navigation menu. This will display a list of all tenants in the system, and some basic information about each tenant.
View Tenant Details
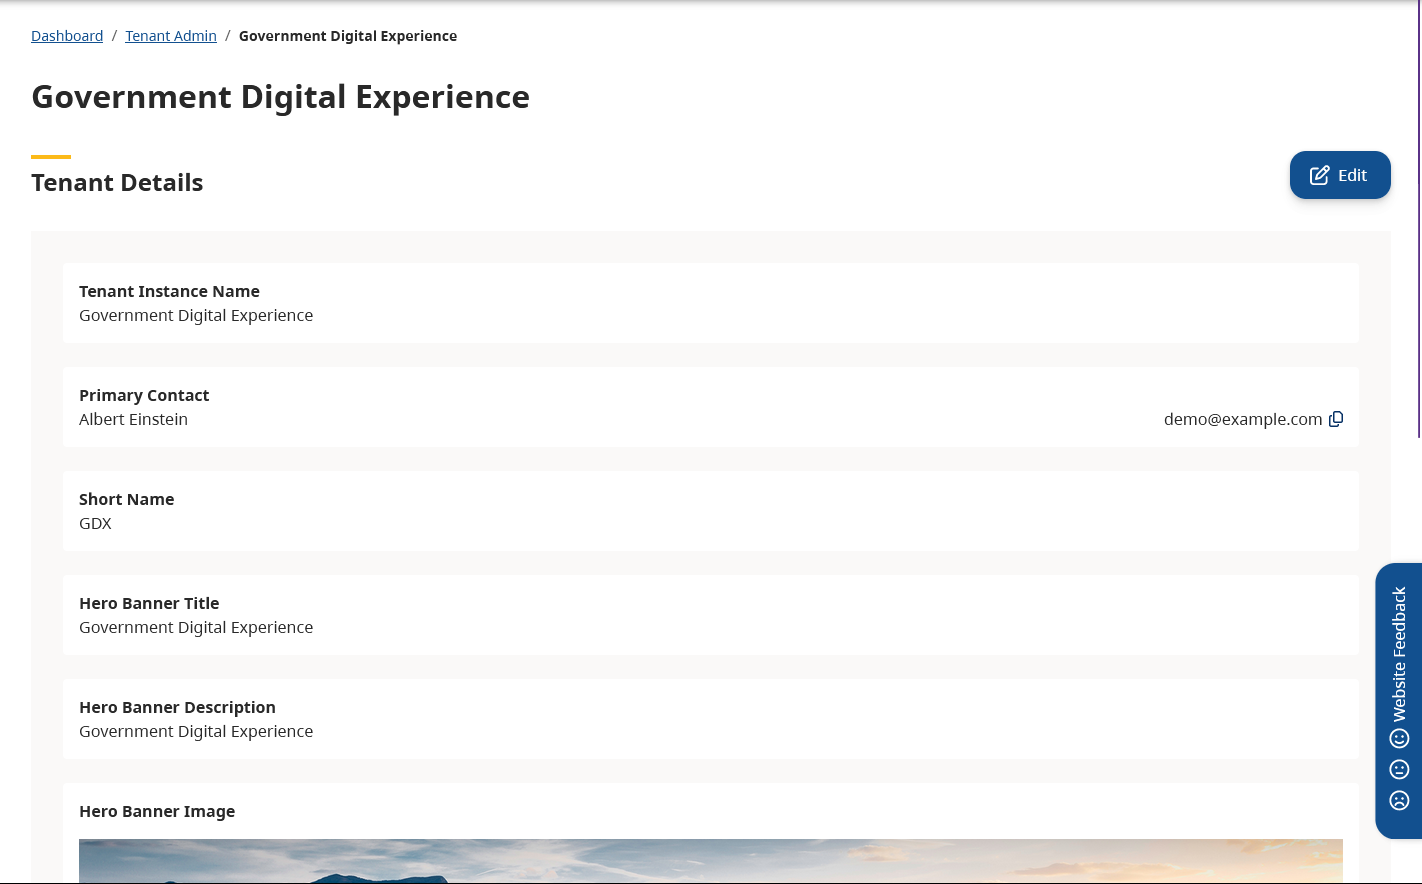
To view the details of a specific tenant, click on the tenant’s name in the tenant listing. This will open a page with all the details of the selected tenant.
Create Tenant
First, follow the steps in “View Tenants” to navigate to the Tenants page. To create a new tenant, select the Create Tenant button from the tenant listing page.
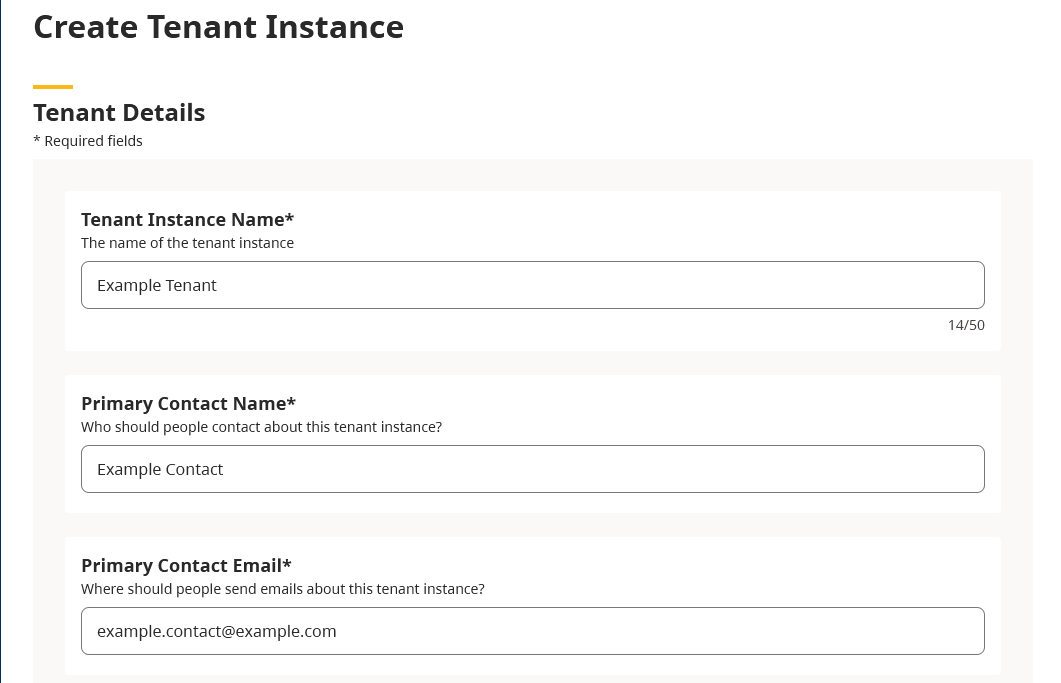
This will open a form where you can input the new tenant’s name, description, and any other relevant information. Once you have filled out the form, select the Create Instance button to create the tenant.
The mandatory fields are:
Tenant Name: The name of the tenant. This will display in most places where this tenant is referenced.
- Primary Contact Name: The name of the primary contact for this tenant. This is the individual who will be the main point of contact for this tenant.
Primary Contact Email: The email address of the primary contact for this tenant. This is the email address that will be used to contact the primary contact for this tenant.
Short Name: A short name for the tenant. This is used as the URL slug for pages that exist within this tenant, and thus must be unique among all tenants. It also displays in the header when the tenant name would be too long to fit. Often, this is an acronym or abbreviation of the tenant name.
- Hero Banner Title: The title that will be displayed on the hero banner for this tenant. This is the large image that appears at the top of the tenant’s home page.
- Hero Banner Description: A long-form description that will be displayed on the hero banner for this tenant along with the title.
The optional fields are:
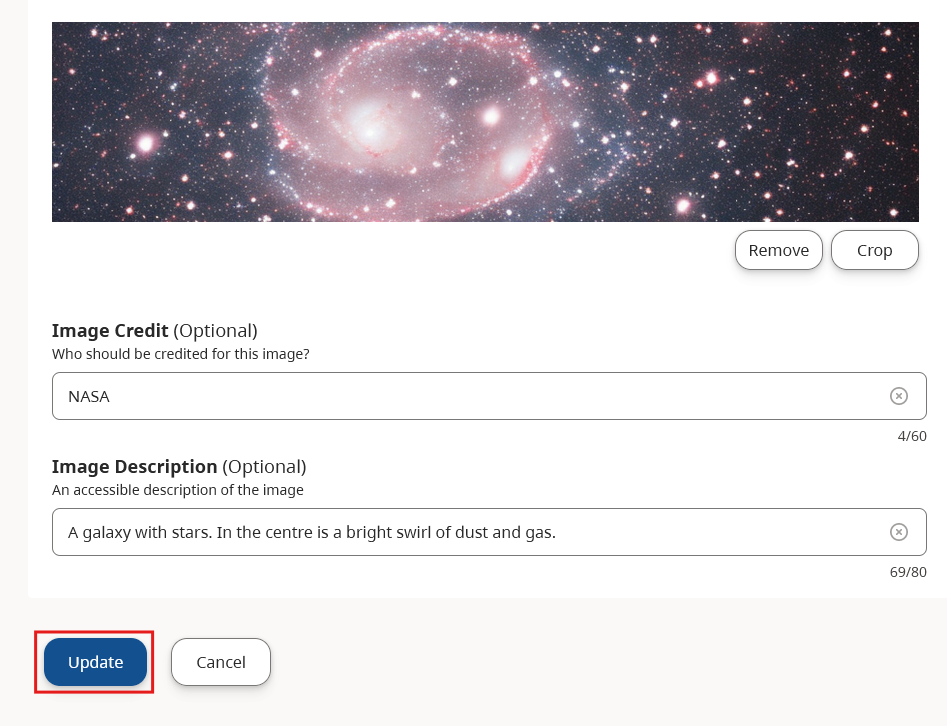
- Hero Banner Image: An image that will be displayed on the hero banner for this tenant. A default image will be used if this field is left empty. The image should be decorative and should not contain any important information.
- Image Credit: The credit for the image that will be displayed on the hero banner for this tenant. This should contain the name of the person or organization that created the image.
- Image Description: An accessible description of the image. This will not be displayed, but will be used to describe the image for users who are using screen readers or other assistive technologies.
Edit Tenant
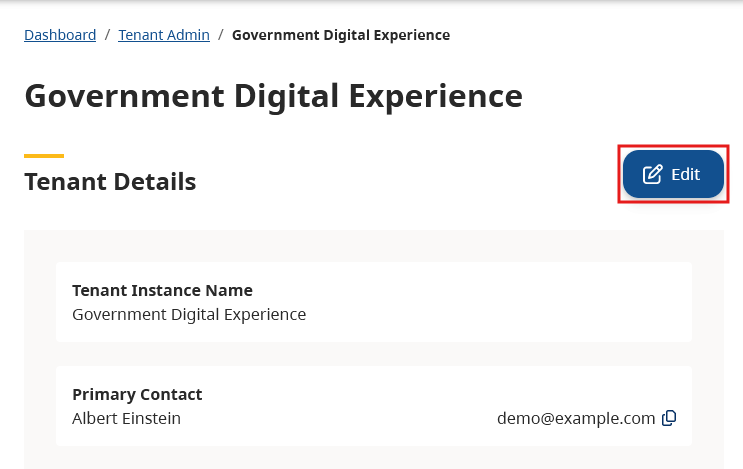
To edit a tenant, follow the steps in “View Tenant Details” to navigate to the details page of the tenant you wish to edit. From there, press the Edit button to open the edit form.
This will open a form where you can edit the tenant’s details. The information you need to fill out is the same as when creating a tenant. It is fine to leave some fields unchanged, but at least one edit must be made before you can save. Once you have made your desired changes, select the Update Instance button to save them.
Delete Tenant
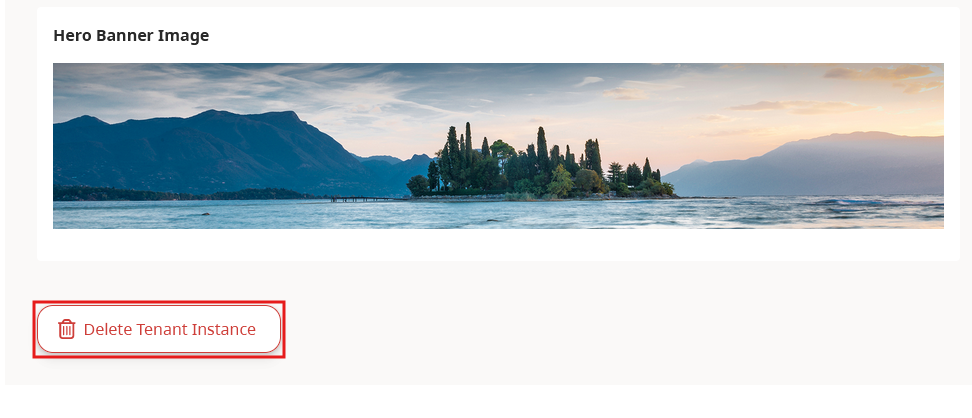
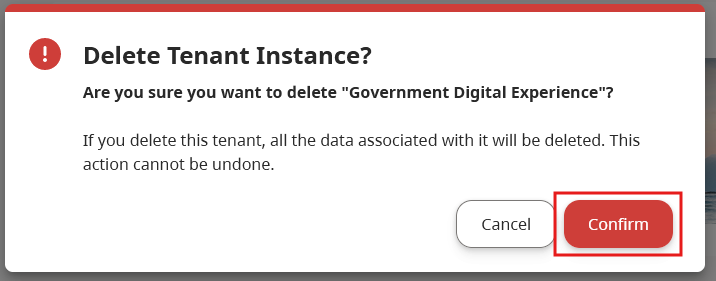
To delete a tenant, follow the steps in “View Tenant Details” to navigate to the details page of the tenant you wish to delete. From there, press the Delete button to open the delete confirmation modal.
In the modal, you will be asked to confirm that you want to delete the tenant. If you are sure you want to proceed, select the Delete Instance button. All tenant data will be deleted. This includes engagements, widgets, collected responses, and any other data associated with the tenant. This action is irreversible; be certain of your decision before proceeding. Limited to 10 characters.
